The cut crease is your best bet if you’re looking for a foolproof way to achieve an effortlessly chic eyeshadow look. This simple technique uses a contrasting shadow shade to create a defined line along the eyelid crease, resulting in a sleek and polished finish. Plus, it’s surprisingly easy to do at home with just a few basic makeup products. So read on for our step-by-step guide to acing the perfect cut crease!
How to do cut crease eye makeup for hooded eyes
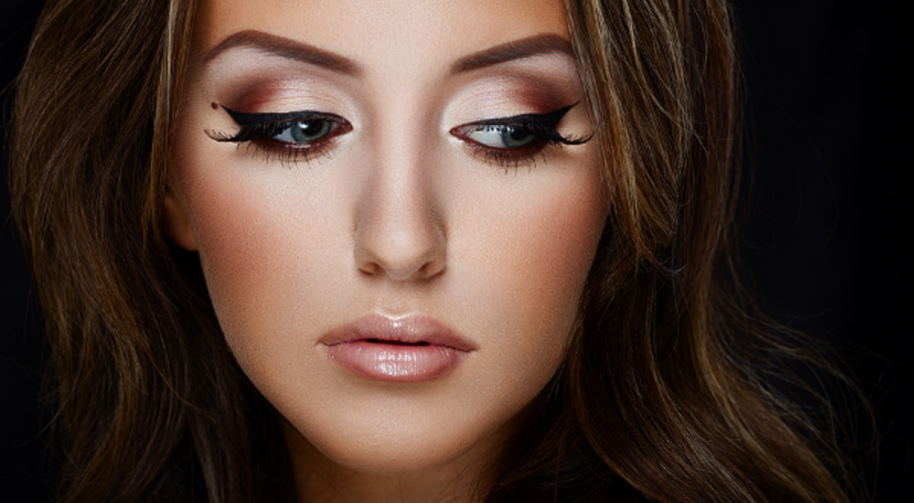
Hi everyone! Today I’m going to be showing you how to do a cut crease eye makeup look for hooded eyes. This is a great look if you want to make your eyes look bigger and more open. Let’s get started!
First, start by applying a primer to your eyelids. This will help the rest of your makeup go on smoothly and last all day. Then, use a nude eyeshadow as your base color. I like to apply this all over my lid and up into the crease.
Next, it’s time to start working on the cut crease itself. First, take a slightly darker eyeshadow shade and apply it along your lash line, very close to the roots of your lashes. Then, start to blend this shade outwards and upwards into the crease. The key here is not to blend too much – you want a defined line between the lighter base color and the darker crease color.
Once you’re happy with the way your cut crease looks, it’s time to move on to the rest of your eye makeup. First, apply a light eyeshadow shade all over your lid, followed by a slightly darker shade in the outer corner of your eye. Then, use a pencil eyeliner to line your upper lash line and create a small wing at the outer corner. Finally, finish off with mascara, and you’re done!
I hope you enjoyed this tutorial on how to do cut crease eye makeup for hooded eyes. This is great for making your eyes look bigger and more open. Thanks for watching!
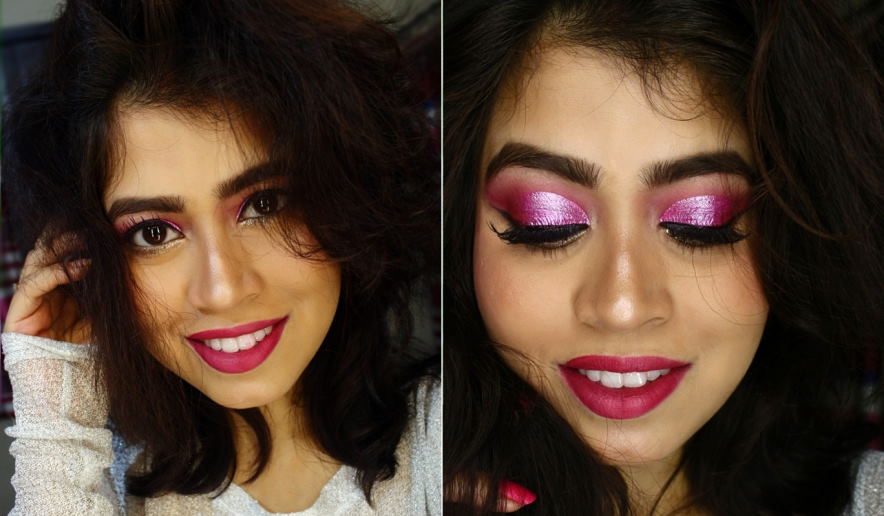
Glitter-cut crease eyeshadow looks
are all the rage right now. If you’re not familiar with the term, a cut crease is simply an eyeshadow look where there’s a defined line between the crease of your eyelid and the rest of your lid. Glitter cut creases take this look to the next level by adding sparkle and dimension.

There are a few different ways you can achieve a glitter cut crease. You can use loose glitter, pressed glitter, or even liquid glitter. The key is to use a product with good staying power so that your glitter doesn’t end up everywhere but on your eyes! Here are some tips for creating a gorgeous glitter cut crease:
- Start with a clean, primed eye. Make sure there’s no oil or residue on your lids, making it harder for the glitter to adhere.
- Use a glitter primer or glue to help the glitter stay put. There are lots of great products on the market specifically designed for this purpose.
- Apply your eyeshadow as usual, then use a small brush to apply the glitter just above the crease line. You can also use your fingers to pat the glitter into place.
- Use a light hand when applying glitter, as it can be easy to go overboard! Start a little bit and build up until you’re happy with the look.
- Set your glitter with a translucent powder to help it stay put all day or night.
With these tips, you’ll be able to create a stunning glitter cut crease that will turn heads!